게임 오브젝트의 위치에 접근하려면 GameObject.tranform.position으로 접근해서 Vector3 값을 적용해서 위치를 바꿀 수 있다. 가령 GameObject.tranform.position = new Vector3(x, y, z) 와 같은 식으로 말이다. 그런데 Canvas 내의 UI는 움직이는 방식이 조금 다른데, rectTransform 이라는 것이 따로 존재한다. 이것에 대해서 알아보자.
rectTranform 과 transform
UI도 transform.position으로 위치를 조절할 수 있기는 하다. 예를 들어, 어떤 Text를 움직이고 싶다고 할 때, 아래와 같이 움직이게 만들 수 있다.
using System.Collections;
using System.Collections.Generic;
using UnityEngine;
using UnityEngine.SceneManagement;
using UnityEngine.UI;
using UnityEngine.EventSystems;

public class gamemain : MonoBehaviour
{
    public GameObject Text;

    private void Update()
    {
        Text.transform.position = new Vector3(Text.transform.position.x + 1, Text.transform.position.y + 1);

    }
}
Text를 Text 타입으로서 받아오지 않고, GameObject 타입으로 받아와 이 GameObject의 transform을 바꿔주는 방식이다. (이 때는 Vector3를 이용해서 움직이게 만들 수 있다.)
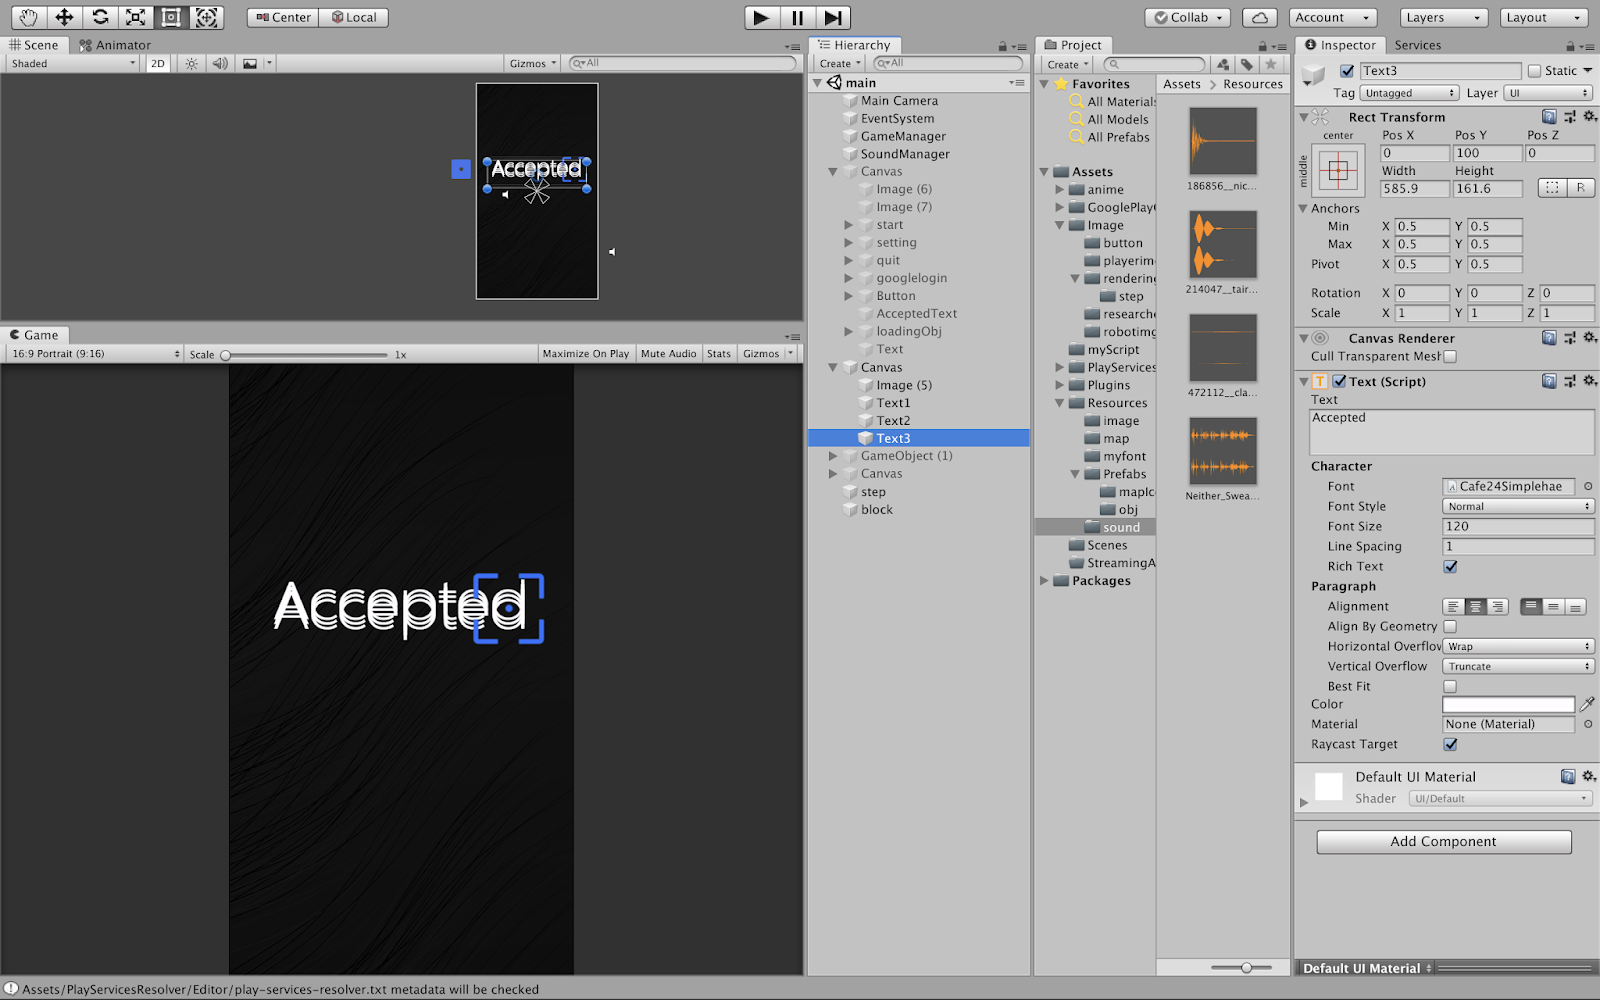
그런데 Text의 Inspector창을 보게 되면, Canvas 밖의 GameObject와 달리 rectTransform이란 컴포넌트가 달려있다.
혹시라도 이 컴포넌트를 삭제하려고 하면,

Text가 이 컴포넌트를 필요로 하기 때문에 지울 수 없단다. UI는 rectTransform이란 속성으로 움직인다는 것인데, 단순히 transform.position으로 움직이게 된다면 이 rectTransform이 전혀 의도치 않은 방식으로 이동하게 된다. 차이가 뭘까?
구글링을 해보면 이런 질문을 볼 수 있다.
https://answers.unity.com/questions/1626018/what-is-the-difference-between-transform-and-rectt.html
뭐 대충 예상한대로 게임 오브젝트냐, Canvas의 UI냐에 따라 조절하는 컴포넌트가 달라진다는 것인데, 그럼 저 rectTransform은 어떻게 이동시킬 수 있을까?
rectTransform의 posX, posY, posZ 바꾸기
일단 필자도 감이 잘 안 와서 접근할 수 있는 모든 방법을 전부 로그로 찍어보았다.using System.Collections; using System.Collections.Generic; using UnityEngine; using UnityEngine.SceneManagement; using UnityEngine.UI; using UnityEngine.EventSystems; public class gamemain : MonoBehaviour { public Text AcceptedText, text1, text2; private void Update() { Debug.Log("transform.position : " + text1.transform.position + "\n"); Debug.Log("rectTransform.position : " + text1.rectTransform.position + "\n"); Debug.Log(".GetComponent<RectTransform>().position : " + text1.GetComponent<RectTransform>().position + "\n"); Debug.Log(".GetComponent<RectTransform>().anchoredPosition : " + text1.GetComponent<RectTransform>().anchoredPosition); } }
Rect Transform의 PosX, PosY, PosZ의 값이 각각 0, 110, 0 인 text1을 찍어본 결과이다.

이러면 또 anchored는 뭔데 이게 제대로 적용되는 것일까?
anchor는 쉽게 말해 UI가 Canvas 내에서 기준이 되는 위치를 설정하는 것이다. (Inspector 창의 Rect Transform에 anchor를 설정하는 부분이 있다. 직접 조절해보면서 확인해보자.) 따라서 이 앵커를 기준으로 position이 정해진다고 볼 수 있다.
위치 이동하는 방법은 게임마다 다 다르지만 이런 식으로 움직일 수 있을 것이다.
using System.Collections;
using System.Collections.Generic;
using UnityEngine;
using UnityEngine.SceneManagement;
using UnityEngine.UI;
using UnityEngine.EventSystems;

public class gamemain : MonoBehaviour
{
    public Text AcceptedText, text1, text2;

    private void Update()
    {
        Debug.Log(isReadyToStart);
        Debug.Log("transform.position : " + text1.transform.position + "\n");
        Debug.Log("rectTransform.position : " + text1.rectTransform.position + "\n");
        Debug.Log(".GetComponent<RectTransform>().position : " + text1.GetComponent<RectTransform>().position + "\n");
        Debug.Log(".GetComponent<RectTransform>().anchoredPosition : "  + text1.GetComponent<RectTransform>().anchoredPosition);


        if (!GameObject.Find("GameManager").GetComponent<sceneManager>().isBack)
        {
            float y1 = text1.GetComponent<RectTransform>().anchoredPosition.y, y2 = text2.GetComponent<RectTransform>().anchoredPosition.y;

            if(text1.GetComponent<RectTransform>().anchoredPosition.y < 110)
            {
                y1 += 0.5f;
                text1.GetComponent<RectTransform>().anchoredPosition = new Vector3(0, y1);
            }
            if(text2.GetComponent<RectTransform>().anchoredPosition.y > 110)
            {
                y2 -= 0.5f;
                text2.GetComponent<RectTransform>().anchoredPosition = new Vector3(0, y2);
            }
        }
    }
}
anchoredPosition을 저장하는 변수를 변경해서 Vector3를 새로 지정해서 해당 변수를 넣어줘서 계속 움직일 수 있게 바꿔주면 되겠다. 움직이는 방법이 중요한 건 아니고 핵심은 anchoredPosition을 통해 조절할 수 있다는 것이다. 직접 만들어보면서 익혀보도록 하자.
감사합니다. 덕분에 큰 도움이 되었습니다!
답글삭제감사합니다! 덕분에 공부가 됬어요
답글삭제감사합니다 !!
답글삭제한참 고민하다가 좋은 정보 알아갑니다 감사합니다
답글삭제